My
first adventure into working with SharePoint ‘Modern’ site templates was utilizing the new
Communication site template. Outside of the new ‘Modern’ web parts, the
learning curve for site utilization was minimal as the permission structure
behaves much the same ways as a SharePoint ‘Classic’ site. My tendency is to go to the Advanced permission settings. Granted, this is because that screen feels comfortable. It is similar to the process I have utilized with SharePoint permissions since 2007! Then I started utilizing the SharePoint ‘Modern’ team site templates and realized that this approach may not be best.
First,
let's review the steps completed so far. First, a modern SharePoint team
sites is created, PublicTeamSite (this behavior is the same in both the private and public team sites). The privacy
setting is set to Public and an Office 365 Group was created along with the
site. I do know that it is now optional to create the Office 365 Group when
creating a 'Modern' team site but since this option was recently added, the
majority of team sites I work with have an associated Office 365 group.
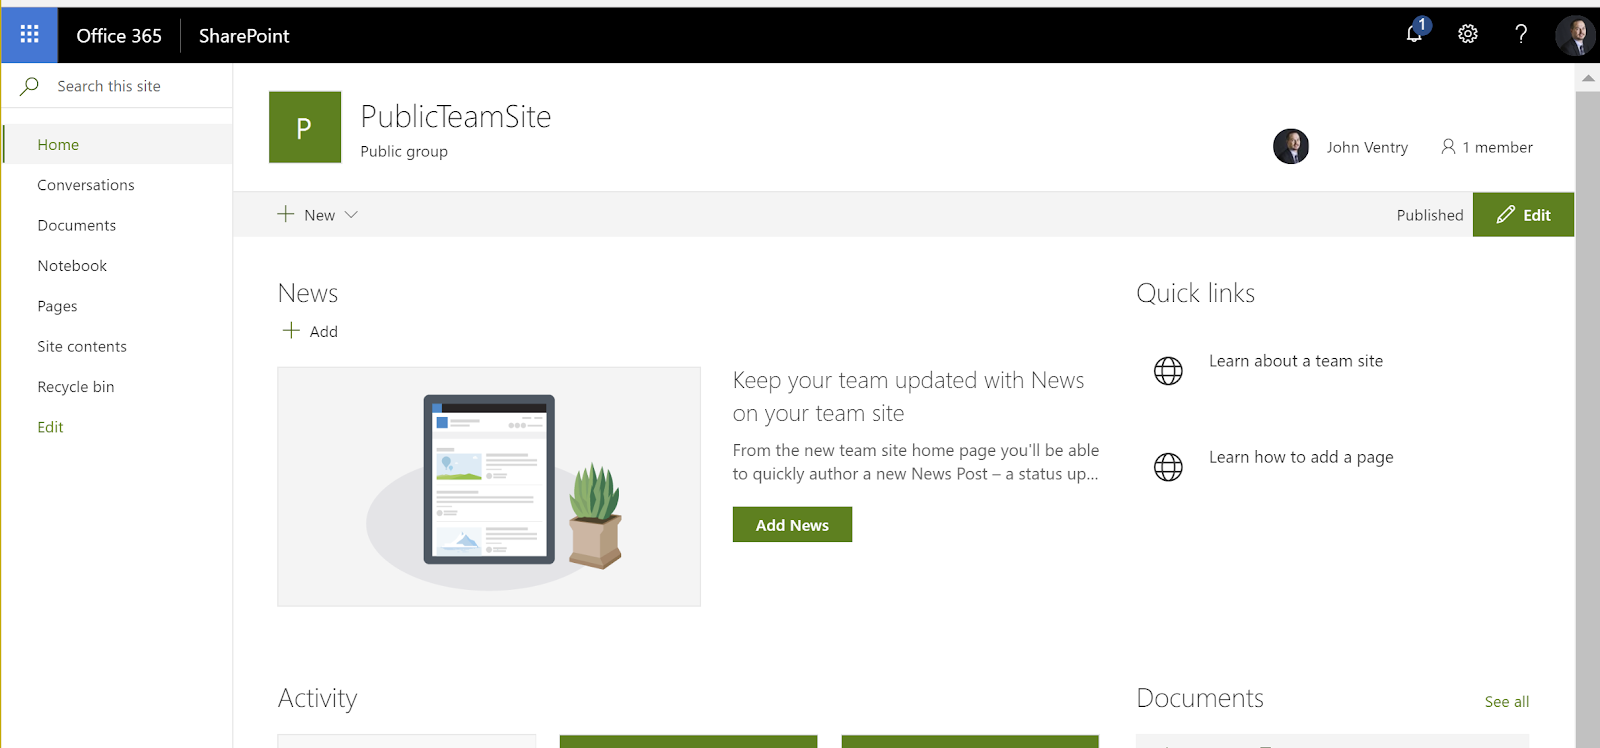
Here
is an initial screen shot of the landing page:


Let's say that access is needed for a user account to this team site - there are a couple of options. First, select the Gear icon in the upper right hand corner of the site and then select Site Permissions from the drop down menu.
At this point, my tendency is to select Advanced permissions settings, where I am directed to a page that is similar to what

Thinking that the user account needs edit access, it is added to the Members group. Yet, after the account is added to the Members group, the number of Site Members still only displays as one.

Yet, the user account does have edit access to the site but is unable to participate in conversations (this is a private team site).
When working with Team sites (that have an associated Office 365 Group), there are some options to grant site access.
- Start by selecting the gear icon in the upper right hand corner and select Site Permissions from the drop down menu
- Select Invite People:
- Add Members to Group: this option not only grants access to the site but adds the account to the Office 365 group. When an account is added via this method, the number of members at the top right of the page is updated. Note, that when using this selection only Owner and Member permission settings can be granted. Read access cannot be granted utilizing this method.
- Share Site Only: this option adds the user to the appropriate site group. This does NOT add them to the Office 365 group. When added using this selection, the account can be granted Owner, Full Control, Edit or Read access. However, this does not update the members number on the home page of the screen and does not allow the account to participate in conversations (in a private group). This is the equivalent to selecting Advanced permission settings and adding the account that way.
Bottom line: Even though the Advanced permission settings can be utilized to grant permission to 'Modern' team sites, but isn't necessary. Don't be afraid of the Invite People selection. Just be aware that the Add Members to Group will add the user account to the Office 365 Group and can only be used to gran Owner or Member permissions. Share Site Only will grant access to the team site only and will add the account to the appropriate site group (and this is the only option for read access).
Comments